



The fastest way to organize an entryway for a faster school morning is to build one small launchpad by the exit door with four zones: bags, shoes, small outbound items, and outerwear. Add a three-step check before anyone opens the door, and the whole system takes about five minutes to set up. From there, you can adjust the layout for a small space, several kids, or extra gear like instruments and sports bags.
Build the Smallest Useful School-Morning Launchpad
When you organize your entryway for faster school mornings, start with the path from the door, then give each item a place that is visible at a glance. The goal is a compact launchpad rather than a full remodel, so fewer storage decisions mean a calmer exit.
Choose the Exit-Side Footprint
Put the launchpad right beside the door your family actually uses to leave for school. Keep that path clear of clutter, and make sure the items used every day sit within reach, not behind a closet door or inside a bin under other things. A school drop zone that combines hooks, shoe storage, and a small organizer near the exit works because everything a child needs is visible without a search.
Set the Five-Minute Starting Layout
Create four spots before buying anything new: one for bags, one for shoes, one for small items headed out the door, and one for coats or weather gear. Use baskets, hooks, or shelves you already own. Starting with placement instead of shopping means the launchpad is ready the same day, and you can swap in better containers later once you see what your family actually uses.

Give Each School-Morning Item a Grab-and-Go Zone
Once the footprint is in place, make ownership and item boundaries obvious. Each zone should answer a specific question: whose bag is this, and where do these shoes belong?
Keep Backpacks and Shoes Together
Give each backpack its own hook or cubby, and match it with a nearby shoe basket or floor spot for that same child. When backpacks and shoes share one location, a child can grab both items in one stop instead of walking to two different rooms. Pairing items by person, not just by category, also cuts down on the morning question of "where are my shoes."
Give Instruments and Outerwear Their Own Boundary
Instrument cases and sports bags need a defined standing zone or a sturdy hook, kept out of the main walking path so they don't become a tripping hazard. Coats, hats, and gloves belong right next to the bag zone, so the full departure load, backpack, shoes, and outerwear, sits together and is easy to see at once.
Create One Outbound Spot for Small Items
Use one tray or basket for anything that has to leave the house the next day: signed permission slips, library books, water bottles. Keep this container narrow in purpose. If it starts collecting toys or mail, it stops doing its job and becomes just another pile to sort through.

Adapt the Launchpad to the Morning You Actually Have
The same basic launchpad works differently in a studio apartment, a three-child household, and a home with instrument practice five days a week. Each scenario changes one part of the setup, not the whole plan.
When the Entryway Is Small
Go vertical. Use the back of the door, a narrow wall shelf, or removable hooks instead of floor furniture, especially if you're renting and can't drill into walls. Keep the floor reserved for the shoes and gear leaving tomorrow, not for every seasonal item your family owns. A shallow shelf or an over-the-door organizer for hats, gloves, and bottles can free up floor space without needing new furniture.
When Several Children Share the Exit
Give each child a named hook, basket, or cubby instead of one shared pile. A shared basket for sunscreen, forms, or other items everyone uses can sit separately from each child's personal spot. Matching the location to each child's height and habits, rather than forcing everyone into one bin, cuts down on the repeated "where's my stuff" questions parents field every morning.
When Instruments and Sports Gear Join the Routine
Give the bulkiest, least flexible item, an instrument case or a large sports bag, its own boundary first, then fit backpacks and shoes around it. Keep occasional equipment, like a violin that only travels on lesson days, close enough to grab during the final check but out of the main daily path so it doesn't block the door on days it isn't needed.
Run the Three-Step Check Before Opening the Door
With every item assigned a home, run the same short check at the door each morning. Each step catches a different kind of last-minute scramble.
| Step | Do this | Prevents |
|---|---|---|
| 1. Person ready | Confirm shoes, coat, and weather gear are on | Half-dressed exits and last-second coat hunts |
| 2. Gear gathered | Confirm bags, shoes, instruments, and the outbound basket are in hand | Forgotten backpacks, missed forms, left-behind instruments |
| 3. Schedule reviewed | Check today's plan for early pickups, field trips, or unusual weather | Surprises that derail the exit after everyone thought they were ready |
Open the door only once all three rows are covered. Skipping straight to the door before finishing step three is usually where a forgotten permission slip or missed early dismissal shows up.

Decide Whether a Visible Calendar Adds Value
The launchpad handles physical items, but a calendar or simple cue handles the information that can change overnight, like an early pickup or a canceled practice. Whether you need a screen for that depends on how many people manage your family's schedule, not on how much you like gadgets.
Stay With a Simple Cue When It Already Works
If one person already checks and updates a phone calendar reliably, and the launchpad only needs a quick departure prompt, a paper note or small whiteboard near the door does the job. Keep that cue limited to what matters for the day's exit, not a full family planner, so it stays quick to read on the way out.
Add a Shared Display When Visibility Is the Bottleneck
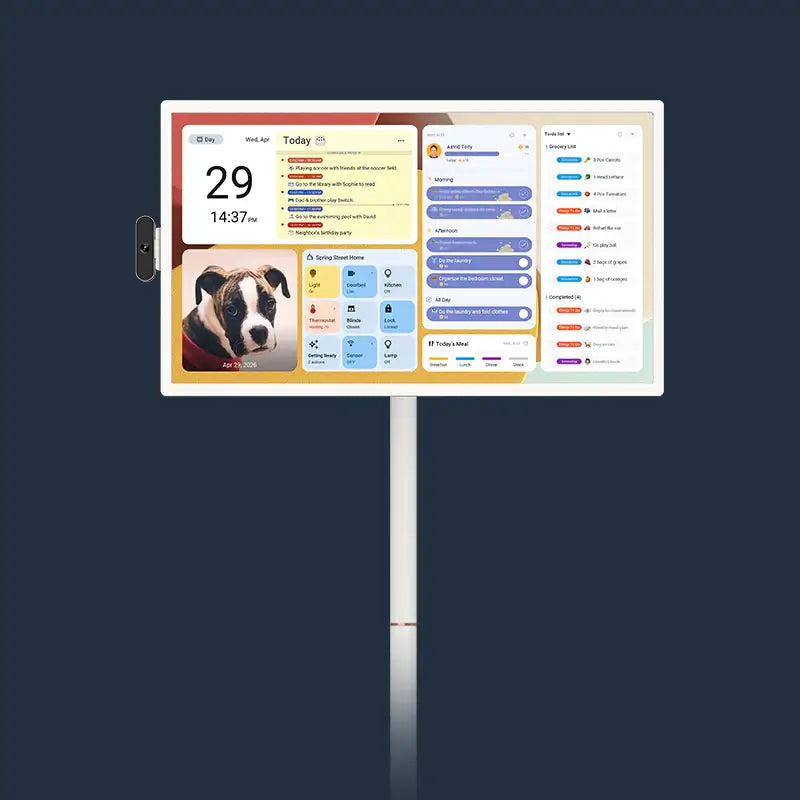
A digital wall calendar creates a shared physical view of online family calendars, and it tends to help most when several people already keep schedules on their own phones but don't have one place to see the day together. If that's your household, position the display where your family actually passes on the way out, not in a room nobody walks through in the morning.
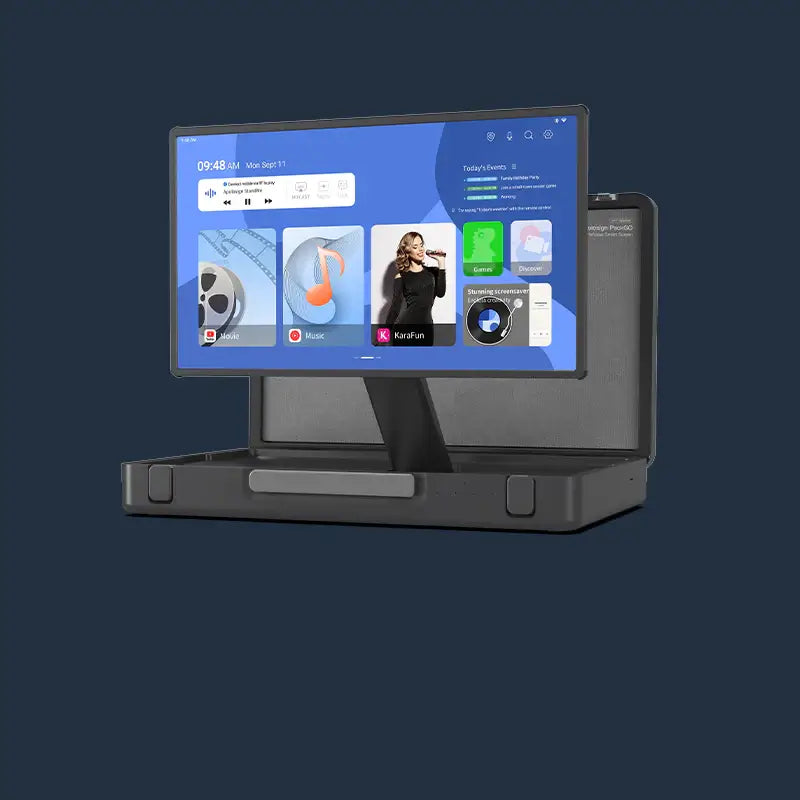
This is the scenario where our 27-inch 4K Digital Calendar can fit. It auto-syncs with Google, Apple, and Outlook calendars, posts reminders and countdowns on its message board, and mounts on the wall with no subscription required, so a shared schedule stays visible right at the launchpad. If you want more on how a visible schedule supports morning routines, our guide on visual family schedules walks through the setup in more detail.
Keep the Launchpad Ready for Tomorrow
A launchpad only stays useful when resetting it is easier than the search it replaces. Pick one short window each day to put things back, and give that job to a clear owner.
Use One Short Reset Window
At a set time, maybe right after school or before bedtime, return bags, shoes, coats, and gear to their assigned spots. Clear out anything that doesn't belong there, like receipts, toys, or empty snack wrappers, so the zone stays focused on what needs to leave the house tomorrow.
Make Ownership Obvious
Give the reset to one adult, one child, or a shared routine with a clear finish line, like "reset happens before dinner." If the same item keeps missing its spot, that's a sign the zone needs to move or change shape, not a sign the whole system has failed.
Choose the Final Launchpad Test
Before adding more storage, test the path your family will actually use tomorrow morning. Stand at the exit door and check whether every essential item, bags, shoes, instruments, outerwear, and the outbound basket, is visible or reachable without crossing the room or opening more than one storage spot. If something fails that test, move the highest-frequency item closer to the door before buying anything new.
If your family also needs one shared, always-visible view of the day's schedule near that same exit, our Apolosign digital calendar is built for that specific job, with free US shipping and a 30-day trial if it doesn't end up fitting your space.
FAQs
How can renters create an entryway launchpad without drilling into the wall?
Use removable adhesive hooks, a freestanding shoe basket, a narrow tray on a console table, or an over-the-door organizer instead of built-in shelving. Mark each temporary zone with a label or a piece of tape before you invest in nicer storage, so you know the layout works before spending money on it.
Where should school papers and small items that need to leave go?
Give them one outbound container by the door, separate from general mail or clutter. Set a simple rule: anything that needs to leave the house goes into that basket before bedtime, and the basket gets emptied during the gear-gathering step of your morning check.
How many launchpad zones does a family with multiple kids actually need?
Start with one shared zone per category, like one shoe basket and one hook rail, rather than a full duplicate setup for each child. Add a second zone only if you notice one child's items consistently crowding out another's; a single labeled slot or hook per child inside the shared area is usually enough to fix that.
What if a child keeps dropping gear on the floor instead of using the zone?
Lower the zone to the child's actual reach and sightline before assuming the habit is the problem. A hook or basket placed above eye level or behind a door often gets skipped simply because it's inconvenient, not because the routine failed.
How should the launchpad change for bulky winter gear like boots and snow pants?
Swap in wider, shallower bins that can hold wet or bulky items without stacking, and add a small mat or tray underneath to catch drips. Keep the same door-side location so the seasonal swap doesn't force anyone to relearn where things go.